
 Docs
 Xenovia SDK
 API
support-agent whose purpose is “Answer customer questions about orders”, route it to your OpenAI provider, and point your app’s OpenAI client at it. Its first request shows up in Sessions, checked against that purpose.
Before you start
Add a provider with a model and its credential on Providers first: the agent sends every request to its provider’s model. See Providers.Create it
1
Open the wizard
On Agents, click Create agent. Under Your own agent, choose Set up manually. (When Nova is on, Set up with Nova lets you describe the agent and has Nova fill in the setup.) The same wizard opens from Create an agent in the Welcome dialog.
2
Purpose
What is this agent for? Give it a Name and, optionally, a Description. Write its Purpose in plain language: every model request is checked against this text before any guardrail runs, and the check starts in Monitor. Add Capabilities (optional): the things it does, each with a name and description.
3
Model route
Where do its model requests go? Choose its Provider. Requests go to the provider’s model. Optionally add Fallbacks: providers tried in order when the primary is down (see Fallbacks).
4
Protection
What protects it? Add Policies and guardrails. Policies are rules from the template catalog and switch on when you activate the agent. Guardrails are model-judged checks that run after the purpose check. Everything here starts in Monitor: it records what it would do without changing any outcome.
5
Create
Click Create agent. Nothing is saved until you do. The agent is created as a draft.
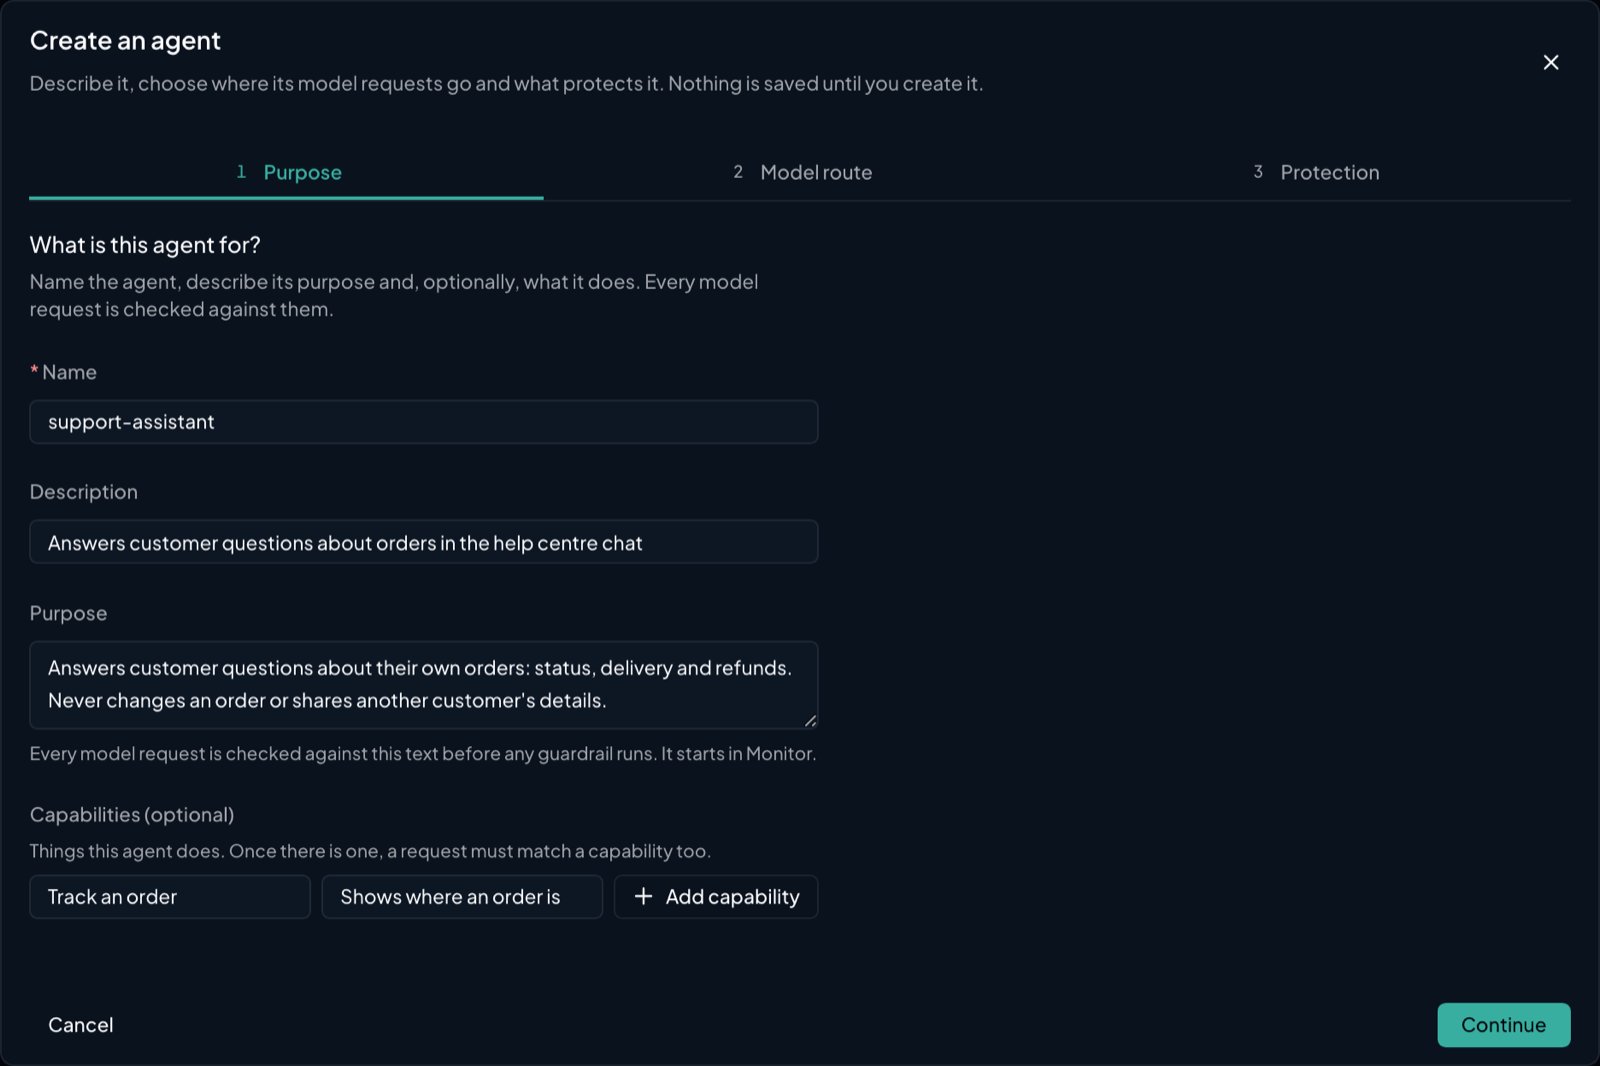
The Create an agent wizard, Purpose step
Connect it
While the agent is a draft, its Overview shows Setup in three steps. For an active agent, the Setup button opens the same steps.1
Change the base URL to the Xenovia URL
Copy the agent’s base URL,
https://runtime.xenovia.io/{agent_id}/v1, into your client. The agent ID is the part between the host and /v1.2
Add authentication
Choose Create API key, give it a Key name, and copy the key (
xe_...). It is shown once. The header is Authorization: Bearer $XENOVIA_API_KEY.3
Send a test request
Activate it
Click Activate. Activation needs an API key and a provider with a model; until both are in place, the console lists what is missing (such as No API key or No provider attached), with a button to fix each. When the request goes through, the response carriesX-Xenovia-Session-Id, X-Xenovia-Trace-Id and X-Xenovia-Decision: allowed, and a session for it appears in Sessions, showing your agent and the model set on its provider, not the model you sent.
The agent’s page
What next?

Connect your app
The change for your SDK or framework.

Add a policy
Block one thing it should never do.

Read its sessions
See each request and decision.